

Hallo Ihr Lieben!
Bereits am Montag habe ich Euch ja schon ein Sneak auf das Mai-Release von Stampcorner gegeben. Heute gibt es eine weitere Vorschau. Und diesmal ist meine Karte non-cute.
Hello everyone!
On monday I've already shared a sneak of the may release by Stampcorner. Today I have another one for you, and this time I've made a non-cute card.
Ich finde diesen "Sternen-Swirl" einfach klasse. Auf meiner Karte ist er immer nur teilweise zu sehen - es ist aber eigentlich ein kleiner Stern in der Mitte mit davon in alle Richtungen kreisförmig weggehende Strahlen sowie weitere Sterne am Ende der Strahlen.
Ich habe den Stempel hier mehrfarbig abgestempelt - von gelb in der Mitte über grün und türkis bis zu hellblau in den äußeren Bereichen. Auf diese Weise habe ich den Stempel dreimal auf ein Stück weißen Cardstock gestempelt und das Motiv anschließend klar embosst. Dann habe ich den Cardstock mit Distress Oxide Chipped Sapphire und Black Soot gewischt, heller in der Mitte und schwarz an den äußeren Rändern.
Dann habe ich mit einer der Deckle Frames Stanzen den mittleren Bereich aus dem Cardstock ausgestanzt. Mit der nächst größeren Stanze aus dem Set habe ich dann eine Mattung aus goldenem Spiegelcardstock gestanzt und den mittleren Bereich damit hinterlegt, bevor ich ihn mit 3D Tape wieder zurück an seinen Platz geklebt habe.
I just love this "star swirl" image. On my card you can't see the full size and pattern of it - there's a small star in the middle, some kind of rays leading away from it in a circle and then more stars at the end of the rays.
I stamped the image in several colors - I started with yellow in the center, then went from green and turuqoise to blue on the outer stars. I stamped the images like this three times onto a piece of white cardstock, then heat embossed over the colors with clear embossing powder. Then I inked up the cardstock with Distress Oxide Chipped Sapphire and Black Soot, keeping the ink lighter in the center and black on the outer edges.
Then I used one of the Deckle Frames dies to cut out the center area from this background. I used the next larger die of this set to cut a matting from golden mirror cardstock, glued that behind the cut out area and then glued those two layers back into their place in the original background using foam tape.

Der Text ist ebenfalls aus diesem neuen Stempelset, das übrigens Wünsche heißt. Ich habe ihn hier nur etwas anders angeordnet abgestempelt und das Wort Sterne durch eines aus gestanzten Buchstaben ersetzt.
Die gestempelten Teile sind weiß auf den Hintergrund aufembosst. Für das Wort Sterne habe ich die Buchstaben mit dem Henry's ABC Stanzenset von LawnFawn aus helltürkisfarbenem Cardstock gestanzt und zwischen die embossten Texteile geklebt. Dann habe ich mit einem weißen Gelpen Highlights auf sowie kleine Punkte um die Buchstaben gemalt.
Dann habe ich noch mit einem goldenen Gelstift einen Rahmen um diesen Bereich der Karte gemalt.
The text means "I'd pick the stars from the sky for you". I white heat embossed most of the text onto the background. For the word stars I've die cut the letters from light turquoise cardstock with the Henry's ABC die set by LawnFawn and glued them between the heat embossed text parts. Then I added some highlights onto the letters and some tiny dots around them with a white gel pen.
In the end I used a golden gel pen to draw a frame around this area of the card.
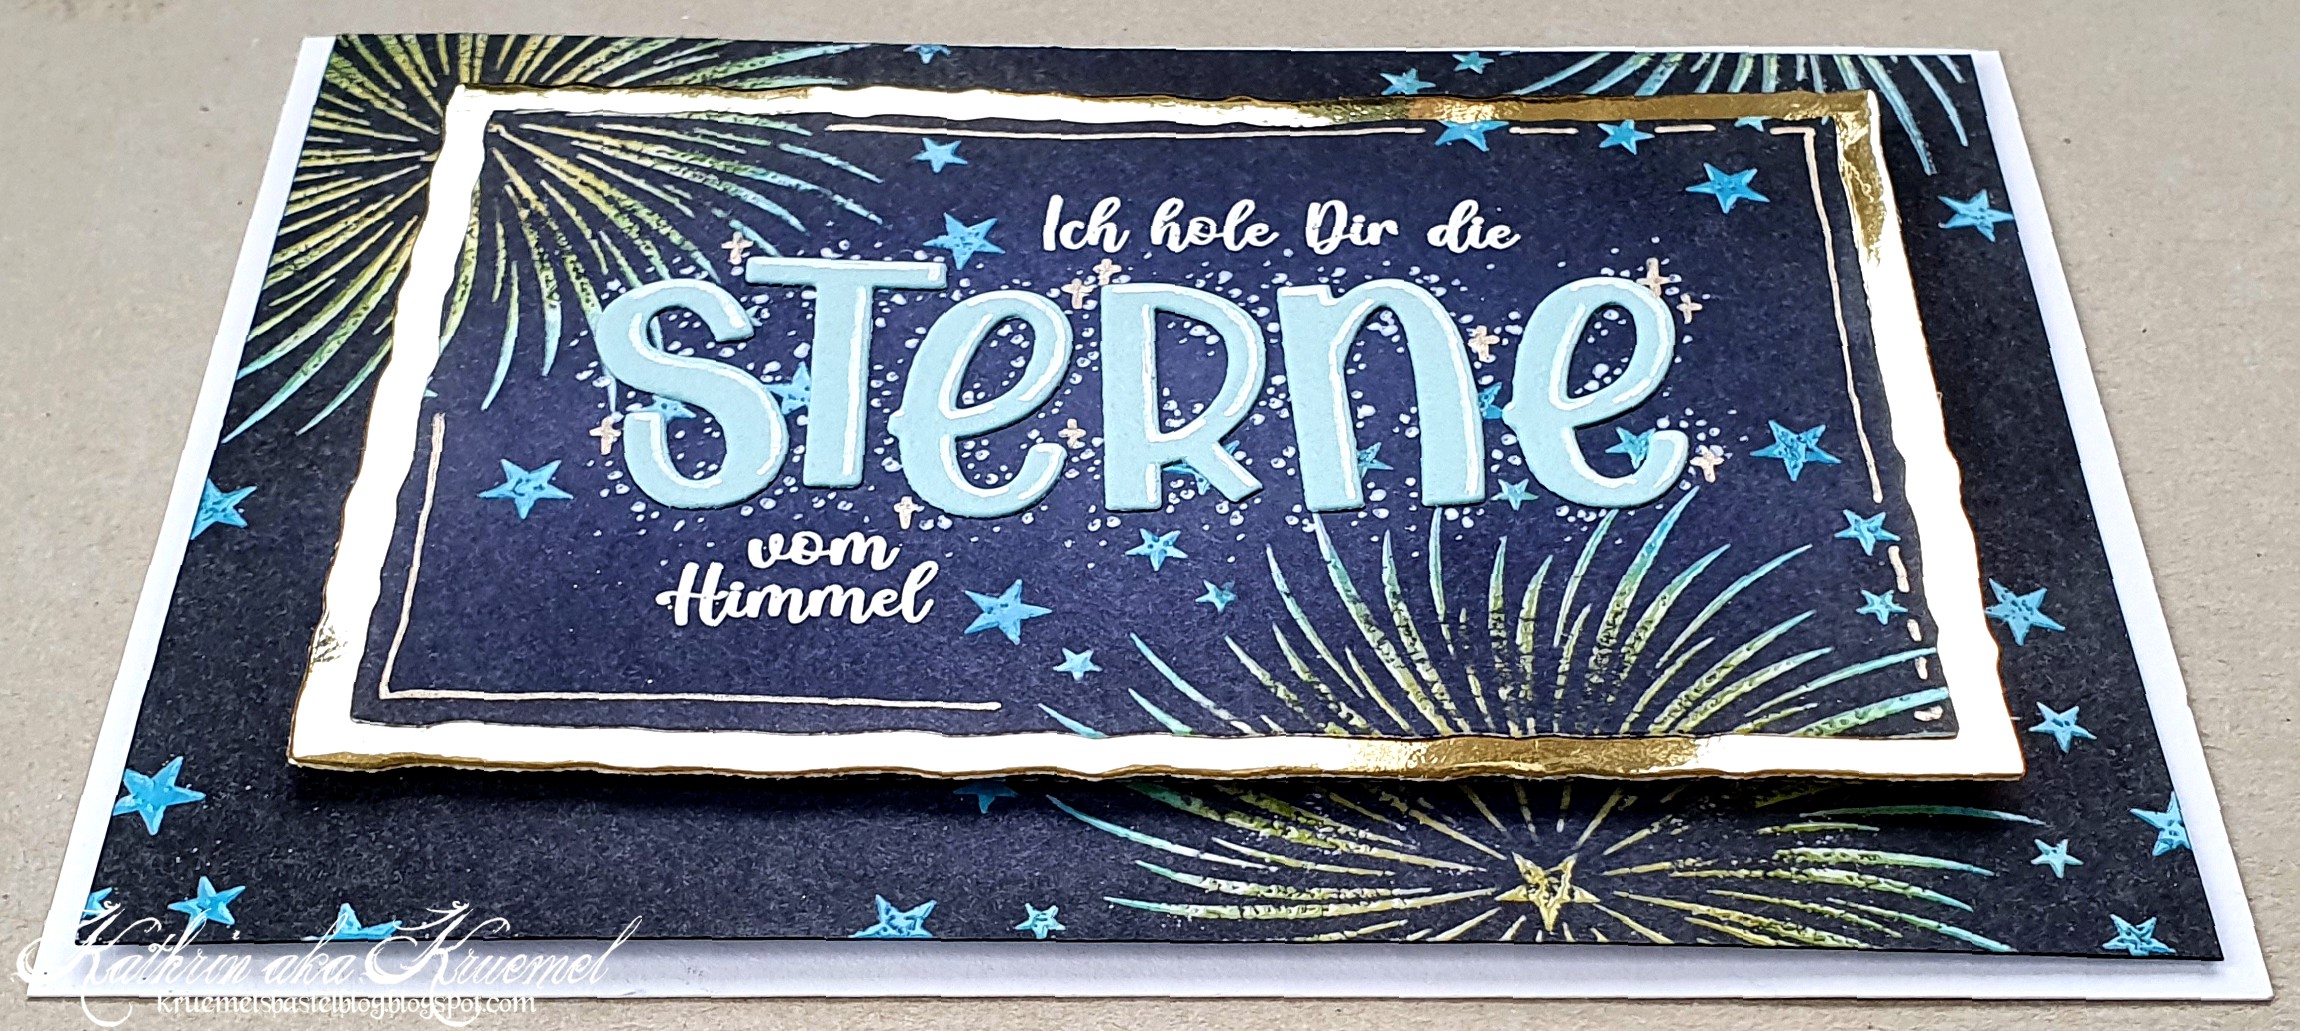
Und wieder mal gibt es das schon bekannt "ich möchte Euch so gerne den Glanz auf der Karte zeigen" Foto. Von oben klappt das einfach nicht, egal, woher das Licht kommt.
And again I've taken the by now well known "I want to show you the shine on this card so badly" picture. That just doesn't show when I take the picture from above, no matter where the light source is.