

Hallo Ihr Lieben!
Der Februar ist ja kürzer als alle anderen Monate, das bedeutet auch, dass der März früher da ist. Und weil der natürlich wieder neue Stempel von Stampcorner bringt, starten wir auch mit den Sneaks ein wenig früher. Eines der neuen Motive zeige ich Euch heute auf dieser Karte.
Hello everyone!
February is shorter than the other months and that means, that march comes earlier. Of course it brings new stamps by Stampcorner, and so we are starting sneaks a bit earlier as usually as well. I am sharing one of the new images with you on this card.
Ich habe hier eine Trifold Card gemacht - die vorderste Lage besteht aber nur aus dem Motiv mit dem Boden darunter.
I made a trifold card here - but the front is only the image with the ground under it.

Hier könnt Ihr das Motiv besser sehen. Der kleine Bär liegt faul im Gras - in meinem Fall mitten in der Nacht.
Ich habe ihn mit Copics coloriert und auch den kompletten Cardstock darunter in dunklem grün coloriert. Dann habe ich alles auf die vordere Klappe auf meiner Karte geklebt und anschließend ausgeschnitten. Das feine Ausschneiden rund um das Motiv, vor allem die Gräser, war etwas schwieriger, denn die vordere Lage meiner Karte hatte ich natürlich aus etwas dickerem Cardstock gemacht und wollte den auch auf der Rückseite des Motivs. Erstens sieht man so die Rückseite des Cardstocks, auf dem coloriert wurde und durch den die Farben natürlich durchgeblutet haben, nicht und zweitens ist mit dem dickeren Cardstock hinter dem Motiv alles ein wenig stabiler.
Here you get a closer look at the image. The little bear is laying lazily in the grass - in my case right in the middle of the night.
I colored him with Copics and also colored all the cardstock under the image in a dark green. Then I attached the whole piece to the front flap of my card and then cut the image out. Cutting it out exactly was a bit harder, especially around the grass, because I had used some thicker cardstock for the front flap on my card and I also wanted this to be on the back of the image. First because it covers the back of the cardstock I colored on - and of course the color bleeds through and is visible on the back - and also with the thicker cardstock behind it the image gets stabilized a bit.
.jpg)
Um die Karte zu öffnen, wird erst nur der Bär zur Seite geklappt - der Nachthimmel ist dann immer noch sichtbar, hinter dem Bären hat sich aber ein Text versteckt.
To open the card the flap with just the bear is folded open - the night sky is still visible, and there was a text hidden behind the image.

Für den Nachthimmel habe ich erst mittig einen Kreis aus Masking Tape auf einen weißen Kartenrohling geklebt und mit einem Stencil von MFT und Versamark die Sterne s aufgewischt und anschließend mit silbernem Embossingpulver embosst.
Dann habe ich den Himmel mit Distress Oxide Mermaid Lagoon, Prize Ribbon, Chipped Sapphire und Black Soot gewischt. Anschließend habe ich die runde Maske abgezogen und den Mond zuerst vollflächig mit Distress Oxide Tumbled Glass und Mermaid Lagoon gewischt, dann habe ich die Details mit Mermaid Lagoon und Prize Ribbon hinzugefügt. Anschließend habe ich einige kleine Wassertropfen über den Cardstock gespritzt.
Aus Vellum habe ich mit den Puffy Cloud Stanzen drei Wolken ausgestanzt, mit der Xyron auf der Rückseite mit Kleber versehen und aufgeklebt.
Der Text kommt zusammen mit dem Bären im Stempelset. Ich habe ihn mit weißem Embossingpulver auf schwarzen Cardstock embosst, ausgeschnitten und so aufgeklebt, dass er bei geschlossener Karte vom Motiv verdeckt wird.
For the night sky I first put a circle cut from masking tape onto my white card base and then used a stencil by MFT and Versamark to stencil the stars onto the cardstock, then embossed them with silver embossing powder.
Then I inked up the sky with Distress Oxide Mermaid Lagoon, Prize Ribbon, Chipped Sapphire and Black Soot. I removed the mask and first inked up the whole moon circle with Distress Oxide Tumbled Glass and Mermaid Lagoon, then added the detail layer with Mermaid Lagoon and Prize Ribbon. I also spritzed a few tiny droplets of water over the cardstock.
Using some of the Puffy Clouds dies by MFT I die cut three clouds from vellum, run them through my Xyron and adhered them to my card.
The text comes in the set with the bear. I white heat embossed it onto black cardstock, cut it out and attached it to the bottom of the cardstock, making sure it is hidden behind the image when the card is closed.
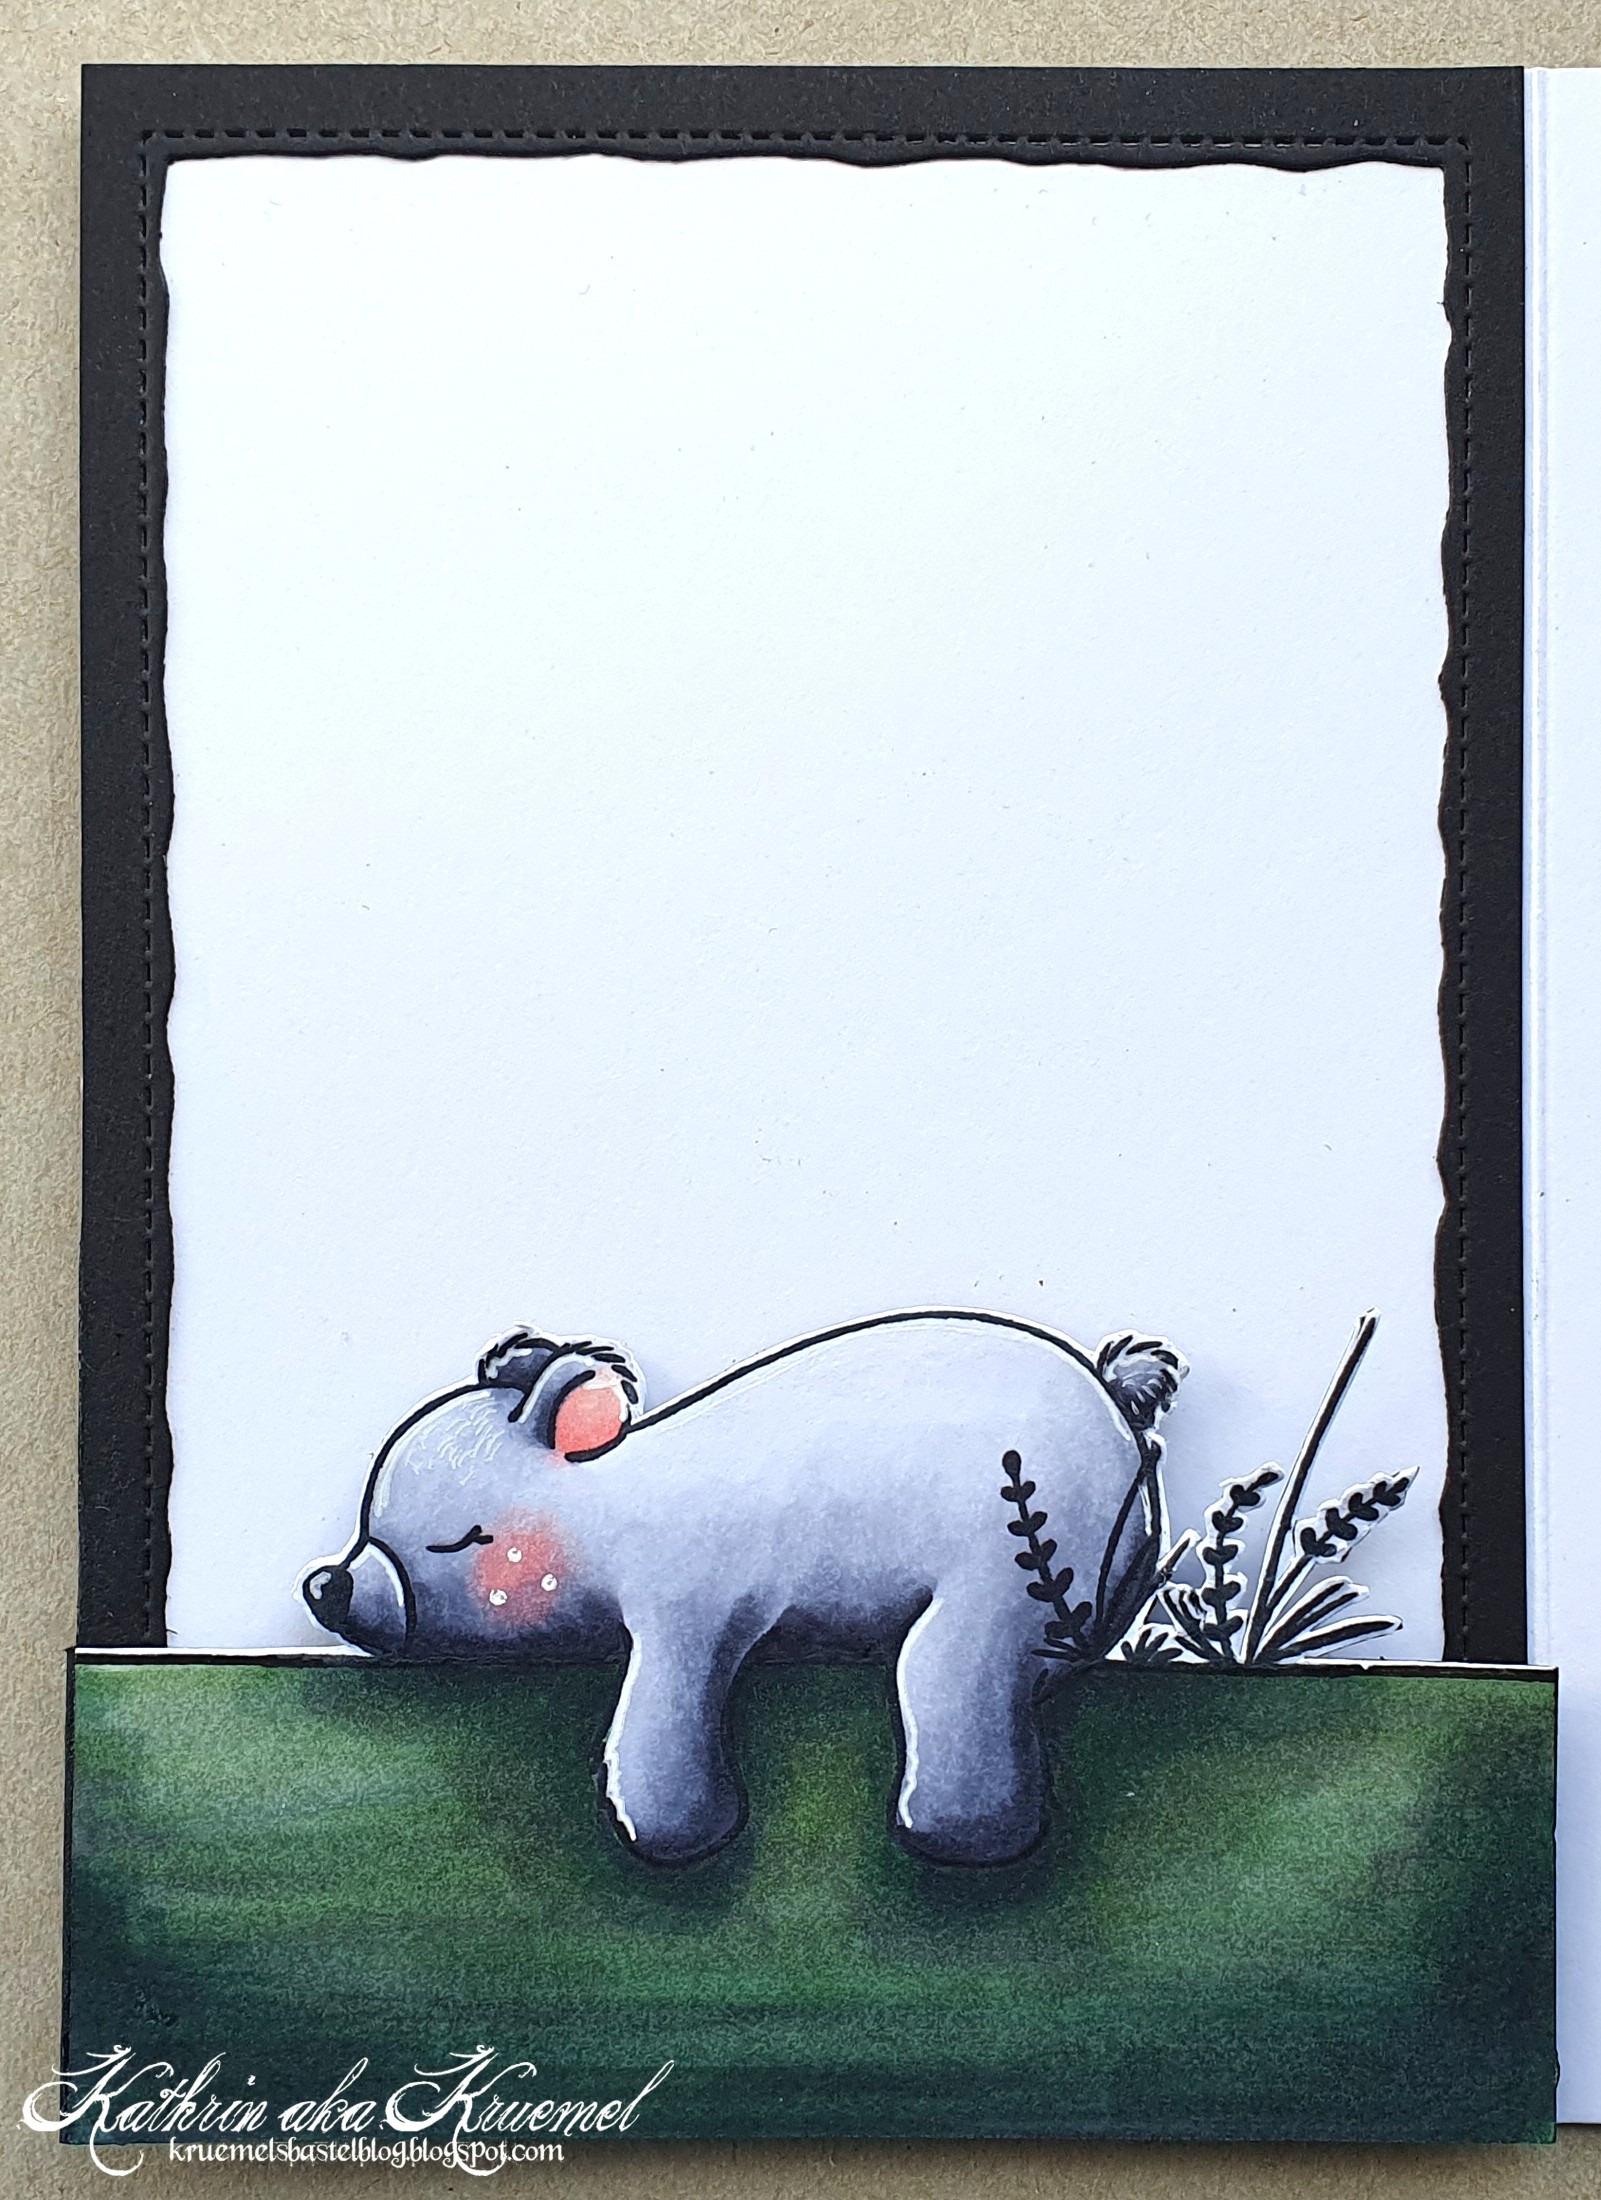
Und so sieht die Karte dann komplett geöffnet - mit der vordersten Lage wieder geschlossen - aus. Da ich den Cardstock für die vorderste Lage ja an der inneren Lage ankleben musste und die Klebelasche überdecken wollte, habe ich ein Stück schwarzen Cardstock in der Größe der Karte zugeschnitten und mittig mit einer der Deckle Edge Stanzen von Stampcorner das unebene Rechteck mit der gestitchten Linie ausgestanzt. Damit habe ich die Klebelasche dann verdeckt - und gleichzeitig einen tollen Rahmen für den persönlichen Text erhalten.
And this is the card opened completly - with the front flap closed. Since I had to attach the front flap to the inner page of the card I wanted to cover the flap I used to glue it down. So I cut a piece of black cardstock the size of my card, then die cut a rectangle with a wonky edge and a beautiful stitched line from its center, using one of the Deckle Edge dies by Stampcorner. I used that to cover the flap I attached the card front with - and at the same time recieved a beautiful frame for my personal message.