

Hallo Ihr Lieben!
Wie immer am ersten des Monats startet heute die neue Challenge in der FB-Gruppe von Stamping-Fairies. Und passend zum Shop-Geburtstag, der diesen Monat ist, haben wir uns für das Thema Geburtstag entschieden.
Hello everyone!
As every first of the month we are starting a new challenge over in the Stamping Fairies FB Group. And since it is the birthday month of the shop we went with birthday as our theme for the challenge.
Ich habe mich für hellblauen Cardstock entschieden. Darauf habe ich die Radiating Rays Schablone von MFT aufgelegt und Versamark darüber getupft (bzw. einfach das Kissen über die Schablone gezogen). Dann habe ich die Strahlen mit klarem Embossingpulver embosst.
Die Spritzer sind mit weißer Acrylfarbe und dem Splatter Brush von Tim Holtz gemacht. Mit normalen Pinseln habe ich mich da echt schwer getan. Entweder hatte ich dicke Kleckse auf meiner Karte oder aber man sah die Spritzer kaum. Der Pinsel ist klasse und damit schaffe es sogar ich, schöne Kleckse hinzubekommen. Und er kann ganz feine und auch größere.
I went with a light blue cardstock. I've put the Radiating Rays stencil on it and dabbed Versamark ink over it (actually I've simply put the ink pad on top of the stencil). Then I've clear heat embossed those areas.
The splatters are made using white acrylic paint and the Splatter Brush by Tim Holtz. I never was happy with the result when I've used a regular brush. Either I've had big fat blobs on my cards or the splatters were that fine that you couldn't really see them. But with this one even I can do nice splatters - and it can do both, fine and bigger ones.
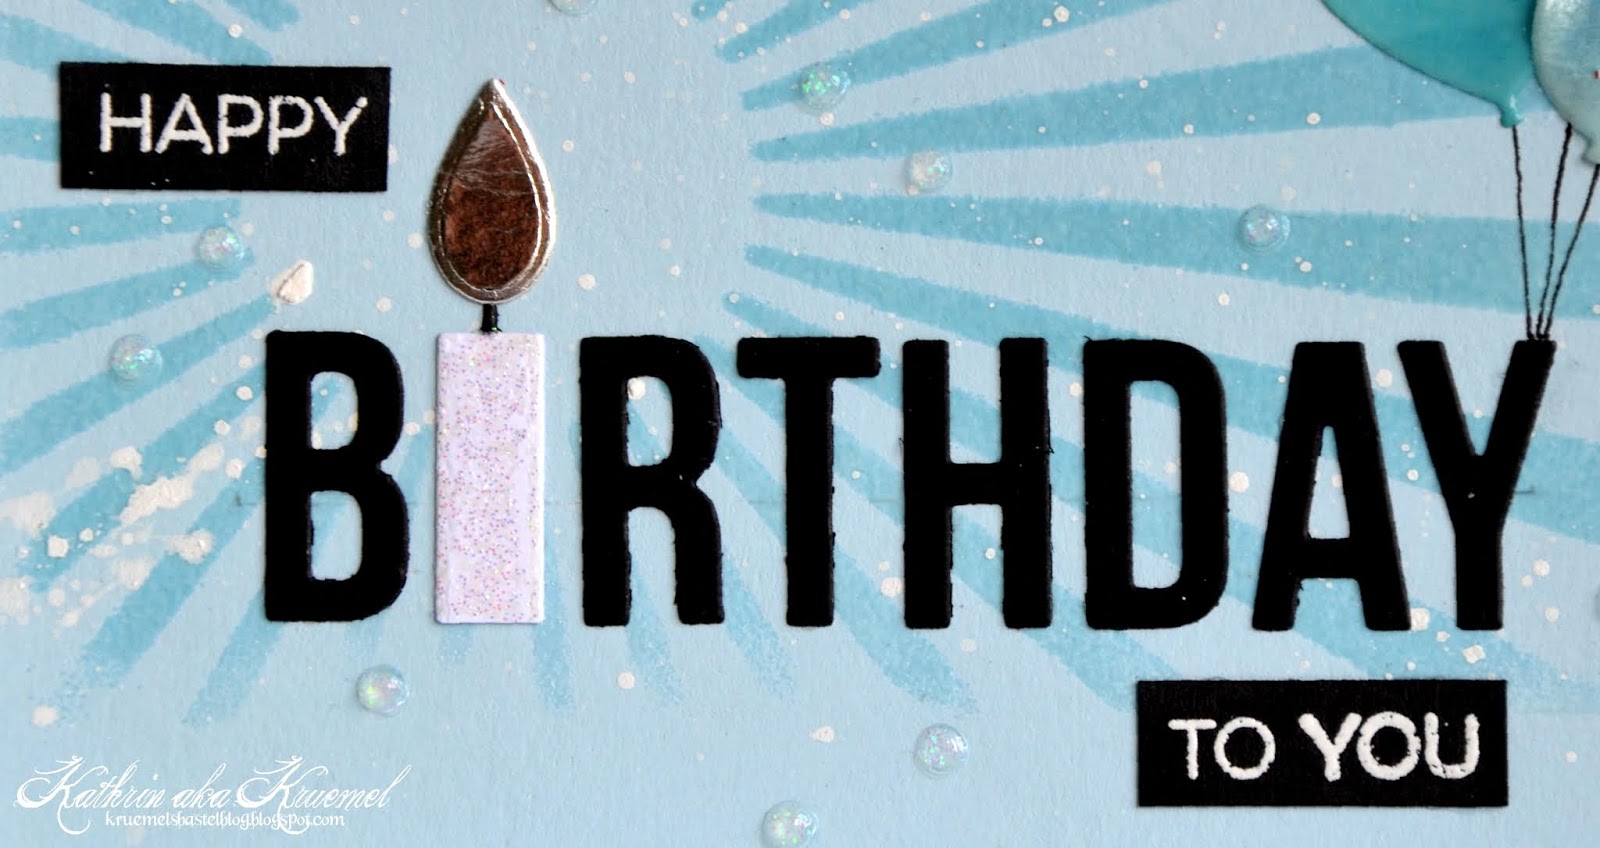
In die "Sonne", die hier als Strahlenmittelpunkt dient, habe ich dann eine der Birthday Candles aufgeklebt. Sie ist aus weißem Glitzercardstock gestanzt, die Flamme aus silberfarbenem Spiegelkarton. Außerdem habe ich die Kerze in der Länge so gekürzt, dass sie zu den Buchstaben des Birthday passen. Das ist mit der Happy Birthday To You Stanze gemacht. Ich hatte die gekauft und eigentlich eine ganz andere Idee im Kopf. Aber wie so oft änderte sich die dann während des Werkelns und so habe ich nur die ausgestanzten Buchstaben des Birthday benutzt. Die Worte happy und to you sind aus dem Stempelset All About You und weiß auf schwarzen Cardstock embosst.
Rund um die Worte habe ich noch ein paar Nuvo Glitter Drops in der Farbe White Blizzard verteilt.
In the middle of the "sun", that is working as the light center on my card, I've added one of the Birthday Candles Die-Namics. It's been cut from white glitter cardstock, for the fame I went with silver mirror cardstock. I've also cut the bottom of the candle off to make the length match the one of the letters. The word has been cut using the Happy Birthday To You die. I've bought this one having a completly different card design in mind. But as it happens so often that one changed during the card making process. The words happy and to you are from the All About You stamp set and are white heat embossed onto black cardstock.
Around the words I've added some Nuvo Glitter Drops White Blizzard.

Am Y habe ich dann noch drei Ballons "angebunden". Der Herzballon ist aus dem Set Heart Balloons, die runden in unterschiedlicher Größe aus dem Stanzenset Birthday Balloons. Ich habe sie jeweils aus Vellum gestanzt, mit Distress Oxide in Tumbled Glass, Broken China und Mermaid Lagoon eingefärbt und anschließend jeweils eine Schicht klares Embossingpulver darübergetan. So glänzen sie schön. Und hier stört es gar nicht, dass der Kleber das Vellum etwas durchscheinend macht. Da ich den Kleber nur an den Stellen aufgetragen habe, an denen die Ballons überlappen, kann man hier die Farbe des Ballons darunter noch etwas sehen.
To the Y I've tied three balloons. The heart balloon is from the Heart Balloons set, the round one in different sizes come in the Birthday Balloons die set. I've die cut those from Vellum, colored them in with Distress Oxide Tumbled Glass, Broken China and Mermaid Lagoon and then added a layer of clear embossing powder to make them shiny. And here it really doesn't matter that the liquid glue makes the vellum a bit more transparent. Since I've only added the glue to the areas where the balloons overlap you can see a hint of the darker balloon behind.